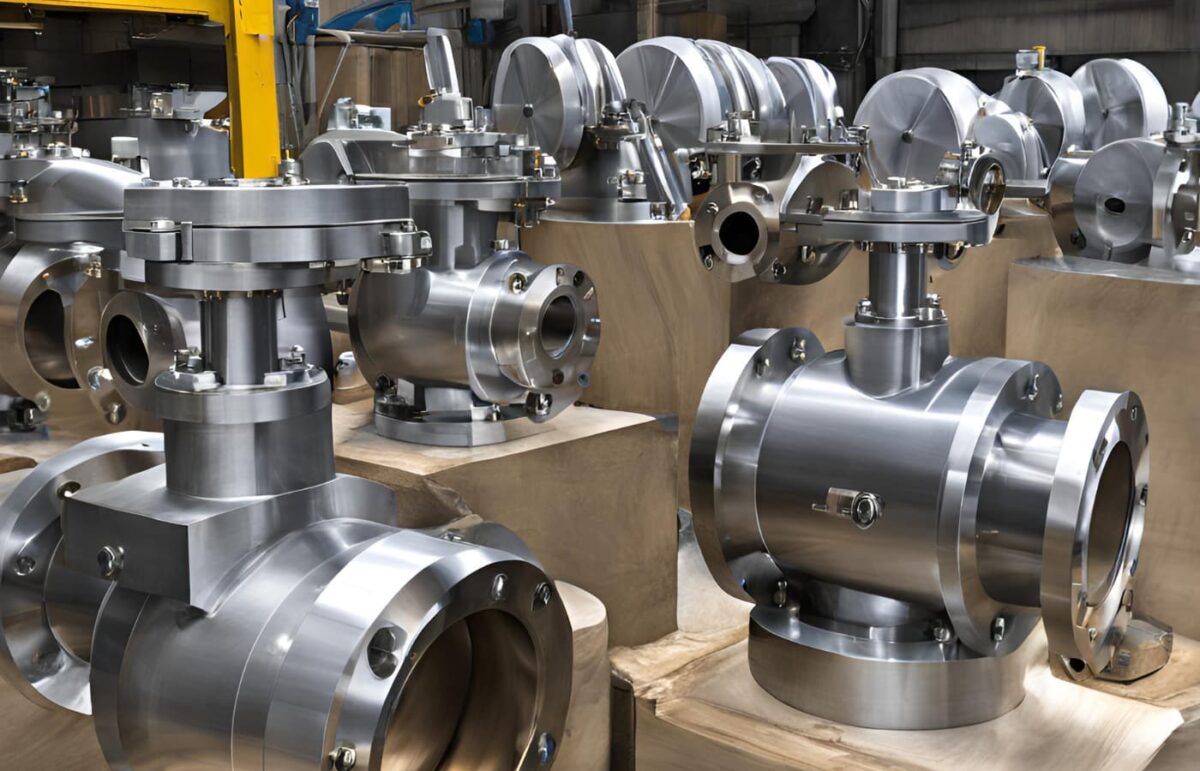
Ball valves are versatile and reliable flow control devices used in countless applications, from plumbing and HVAC systems to industrial processes. Their simple design and robust construction make them a popular choice for regulating the flow of liquids, gases, and even some slurries. However, like any mechanical device, ball valves can experience issues over time. This comprehensive DIY guide will walk you through troubleshooting and fixing common ball valve problems, potentially saving you time and money on repairs.
VG1275C+943GGAL, are specialized ball valves designed for industrial applications. VG1275C+943GGAL ball valve manufacturers adhere to strict quality standards and often provide detailed technical documentation and support to assist users in maintaining and troubleshooting their valves effectively.
Understanding Ball Valves
Before diving into troubleshooting, it’s helpful to understand the basic components of a ball valve. A typical ball valve consists of the following:
- Body: The main housing of the valve, typically made of metal or plastic.
- Ball: A spherical component with a bore through its center, which controls the flow of media.
- Stem: The handle or actuator that rotates the ball to open or close the valve.
- Seats: Rings or discs that create a seal around the ball when the valve is closed.
- Packing: Material that prevents leakage around the stem.
Common Ball Valve Issues
- Leakage
- External Leaks: These leaks usually occur around the stem or body of the valve. They can be caused by worn-out packing, a loose packing nut, or damaged O-rings.
- Internal Leaks: Internal leaks are typically caused by worn or damaged seats. When the valve is closed, the ball may not seat properly against the seats, allowing media to flow through.
- Difficult Operation
- Stiff Handle: If the handle is difficult to turn, it may be due to a lack of lubrication, debris in the valve, or corrosion.
- Handle Won’t Turn: This could be caused by a stuck ball, a broken stem, or a blockage within the valve.
- Reduced Flow Rate
- Partial Blockage: A partial blockage in the valve, such as debris or a buildup of scale, can restrict the flow of media and reduce the valve’s overall performance.
- Noisy Operation
- Cavitation: Cavitation occurs when vapor bubbles form and collapse within the valve, causing a hammering or hissing sound. This can be caused by excessive pressure drop across the valve or by using a valve that’s too small for the application.
DIY Troubleshooting and Repair Tips
- External Leaks:
- Tighten the packing nut: If the leak is around the stem, try tightening the packing nut with a wrench. Be careful not to overtighten, as this can damage the packing and make the problem worse.
- Replace the packing: If tightening the packing nut doesn’t stop the leak, you may need to replace the packing. This involves removing the packing nut, extracting the old packing, and installing new packing.
- Replace O-rings: If the leak is around the body of the valve, check the O-rings for signs of wear or damage. Replace any damaged O-rings.
- Internal Leaks:
- Replace seats: If the valve is leaking internally, the seats may need to be replaced. This typically involves disassembling the valve and removing the old seats. New seats can then be installed and the valve reassembled.
- Difficult Operation:
- Lubricate the stem: If the handle is stiff, apply a lubricant specifically designed for ball valves to the stem.
- Clean the valve: Disassemble the valve and clean all components with a solvent to remove any debris or buildup.
- Replace the stem: If the stem is broken or damaged, it will need to be replaced.
- Reduced Flow Rate:
- Clean the valve: As with difficult operation, cleaning the valve can often resolve issues with reduced flow rate. Disassemble the valve and clean all components thoroughly.
- Noisy Operation:
- Reduce pressure drop: If cavitation is occurring, try reducing the pressure drop across the valve. This can be done by adjusting the upstream or downstream pressure, or by installing a larger valve.
- Install a cavitation-resistant valve: If cavitation is a persistent problem, consider replacing the valve with a model specifically designed to resist cavitation.
Important Safety Tips
- Always turn off the flow of media before attempting any repairs. This will prevent leaks and ensure your safety.
- Wear appropriate personal protective equipment (PPE), such as gloves and safety glasses, when working on ball valves.
- Use caution when disassembling and reassembling valves. Pay close attention to the order in which components are removed and installed, and refer to the manufacturer’s instructions for guidance.
Preventive Maintenance
Regular maintenance can help prevent ball valve issues from arising in the first place. Consider the following:
- Inspect valves regularly for signs of leaks, damage, or wear.
- Lubricate the stem periodically with a suitable lubricant.
- Clean the valve if you notice a reduction in flow rate or difficult operation.
Conclusion
Troubleshooting and repairing VG1275C+943GGAL ball valve issues can be a DIY project with the right knowledge and tools. By understanding the common problems that can occur and following the steps outlined in this guide, you can often fix ball valves yourself, saving time and money. However, if you’re unsure about any repair or encounter a complex issue, it’s always best to consult a professional plumber or technician. With proper care and maintenance, ball valves can provide reliable service for many years.